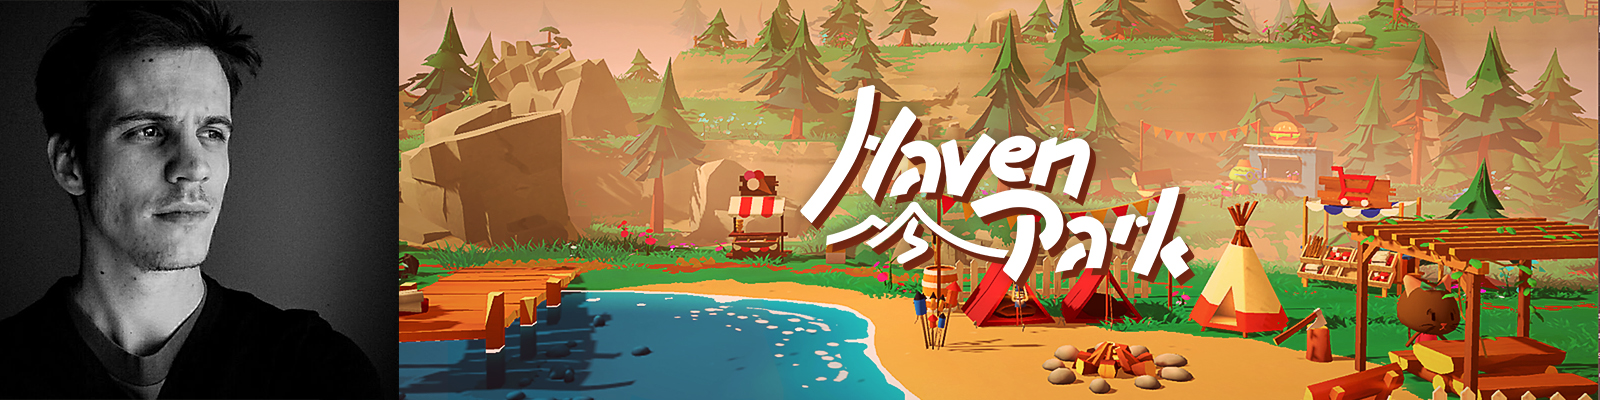
Today we want to give the developer of our first published game “Haven Park” the stage and let him tell you about the development process of his game and what neat little tricks helped him organize his first game project! So without further ado: here’s Fabien Weibel!
Short Intro
Hi! My name is Fabien Weibel and in this article I am going to present my first game made with Blender + Unity and the experience I got from doing it. I have been using Blender for more than 16 years now, I remember rushing back from school to check if my renders came out correctly, good times! I studied art and animation in Lyon (FR) for 5 years, I worked in Paris at Cube Creative Company as a director then moved to Luxembourg where I had the opportunity to develop my own animated TV series called “Barababor” which is currently broadcasted in 60 countries! About two years ago, I decided to start a new journey towards real time rendering, such as VR and video games. I learned Unity and started a few VR projects and now I am releasing my first indie game as a solo developer!
What is Haven Park?
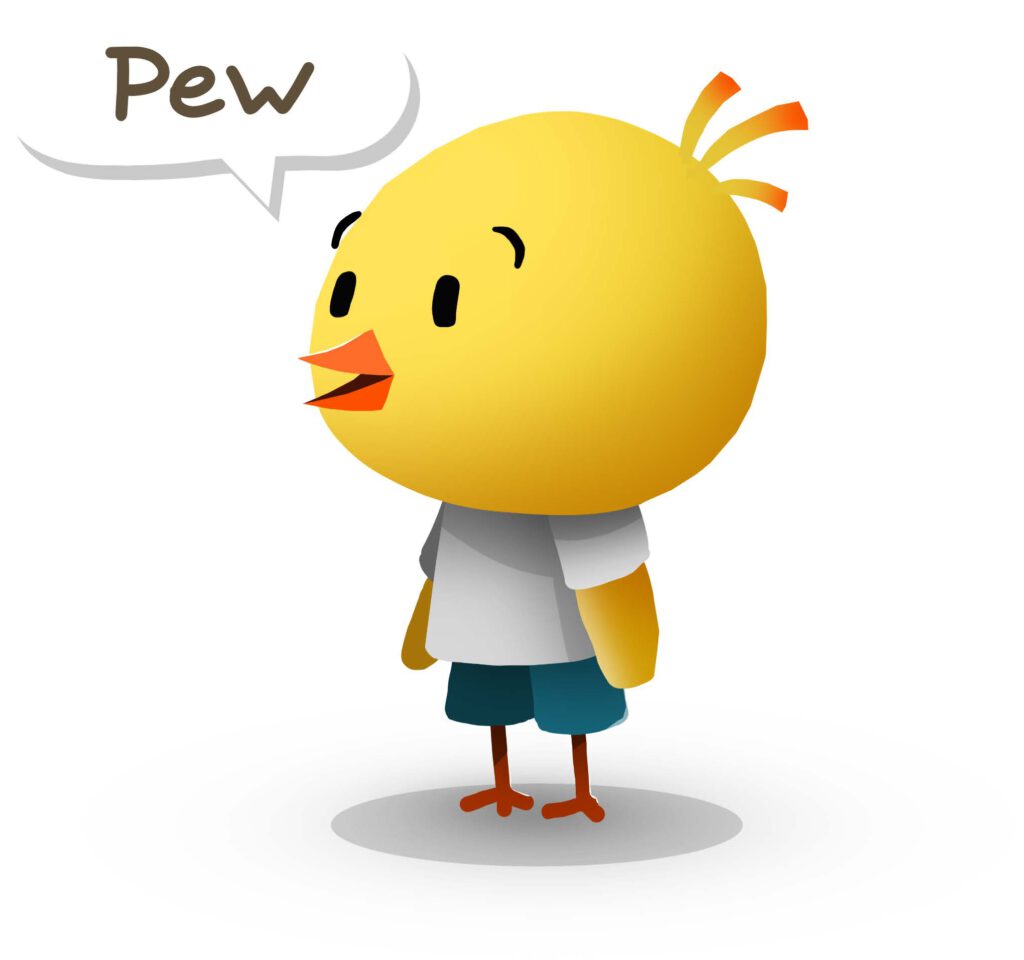
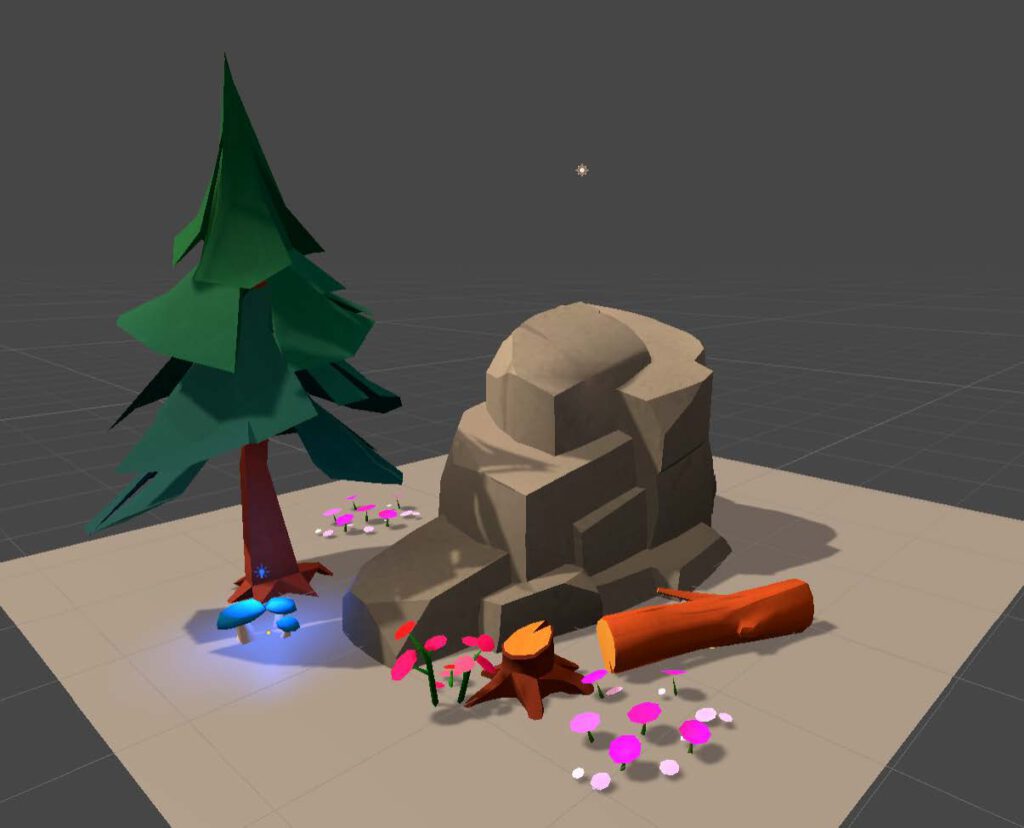
Haven Park is a small exploration game where you need to take care of a natural park. Find and build nice little campsites, meet and make friends with the campers. The game was inspired by A Short Hike and Animal Crossing. You can play at your own pace, discover quests and meet cute characters along the way. So get ready for a big little journey and enjoy the view!
Here you can explore a small Diorama on Sketchfab inspired by the game:
My Goal
When I started this project, my main goal was to get the full game developer experience. From A (concepts, prototyping) to Z (release to market, promotion, support). I wanted to explore the whole spectrum and every aspect of an indie game project.
Organization
I have some experience with project management for animated short films and series, but none for video games production. There was a lot I needed to learn, technical stuff of course, but more importantly organisational aspects. I tried to make the best use of my limited time on the project (1 day per week + some weekends and evenings), so I had to plan ahead. I made a simple spreadsheet to keep up with all the tasks to do.

I wanted it to stay very simple. For every task, I added arbitrary values to help me evaluate them: Difficulty, duration and importance. This was helpful to see the health of the project and the specific aspects where I needed to put more effort. I separated the project in 2 main folders:
● The Unity project folder, on my m.2 drive for fast RW access. That had a significant impact on the build and import times.
● The asset production folder, on my Synology NAS. It contained all source file with increments (.blend, PSD, etc)
This separation allowed me to keep the Unity project folder as lightweight as possible and to gain time on imports. It was also important because I used Git to track the file changes and I didn’t want to end up with a too heavy repository (it currently weighs 2.3Gb, which is good). The source files for the assets were versioned with the hyper backup tool on Synology.
Discipline
When working “for yourself”, a strong self discipline is required to keep going forward. And that is not always my greatest strength… Aware of that, I decided to take a few actions to help me stay on tracks:
- Setting up short and realistic milestones. Everyday I was working on this project, I would start by setting daily objectives. Not too challenging, but also not too easy. Every week or month I would also do that but on a larger scope.
- Involving people. Having a close circle of people following my project really helped me to keep going, as I had “people to report to”. I would like to thank them for their support (my family, my friends, the community on the discord!)
- Setting the bar at the right height. I wanted to make something I was proud of, and yet not out of reach. I knew I had to overcome a lot of things, so I started very simple and added more layers of complexity as the project was moving forward.
Workflow
In order to reach my goals, I needed to set up a workflow that allowed me to quickly iterate and not lose time with annoying and repetitive technical tasks. Fortunately, Blender is a wonderful tool when it comes to this: It is easy to write scripts to make life easier and to set up an efficient work environment. Also an important time-saving strength that we sometimes forget to appreciate: It’s SO FAST to load compared to ahem other tools that I won’t name.
I also needed a “what you see is what you get” tool. I set up Blender’s viewport to look as close as possible as what I would get in Unity. That helped me avoid bad surprises.

Pipeline Blender to Unity
The pipeline I used is not revolutionary, but it did the job well. In order to keep things simple, I went for a low poly art style. To give the objects their colors, I used vertex colors. That way I didn’t have to use diffuse textures for each asset, saving on memory usage. Most objects have a visible pattern, like wood or rocks. It is a simple map that is used across objects and blended with the vertex colors like so:
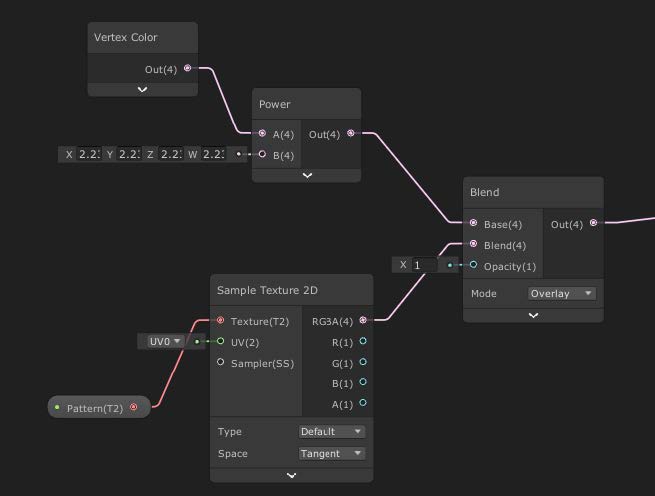
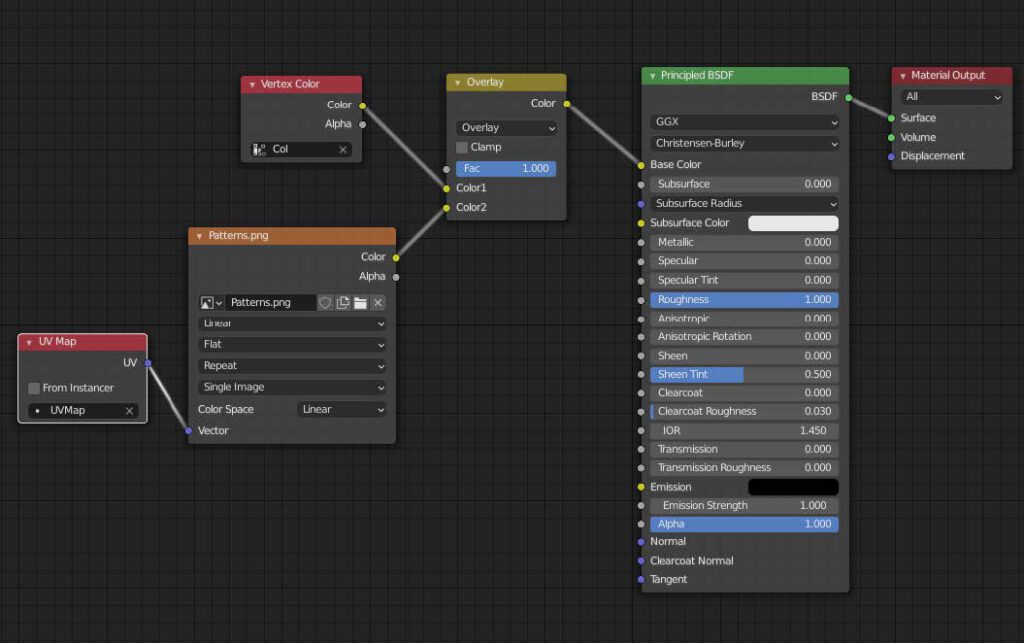
I used this equivalent node setup on Blender:
I also added a soft grain effect on these pattern textures to add more visual interest.
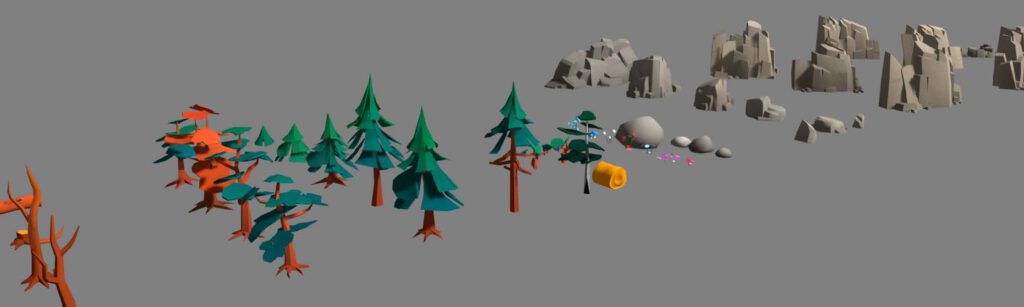
To export the object from Blender to Unity, I wrote a small script that sets up the FBX exporter with the right settings. For example, Unity and Blender use a different coordinate system, so the “apply transformation” option needs to be set to True. The script also sets the correct export location. So basically, using one shortcut, I could export the selected asset to an FBX in the right folder, and that would instantly update it in Unity. I tried to keep the number of Blender scenes as minimum as possible, and instead made use of the collection system. I had only 4 main files
- For nature elements,
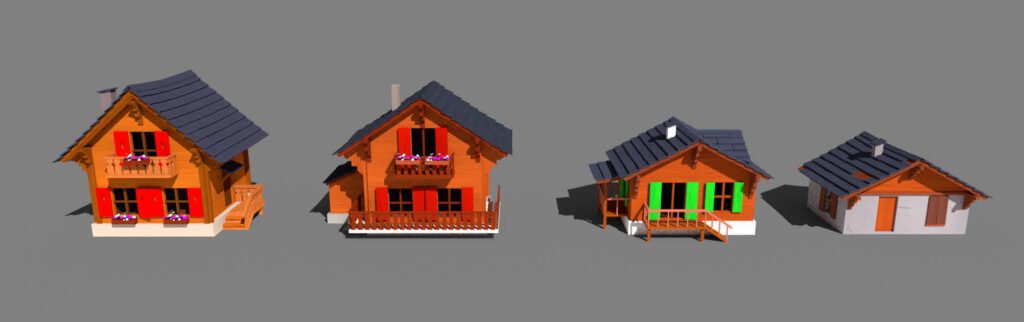
- For manmade objects (cabins, bridges, fences, props…)
- For characters
- For characters animations
This allowed me to easily check the objects against the others to make sure I kept a good consistency across them. The exporter I wrote used each element’s collection name to properly name the FBX file and place it directly in the right Unity folder. I thought about importing .blend files directly into Unity, but I prefered to keep the asset creation business separated.
Publishing
At the beginning of this journey, I was committed to publish the game all by myself. But a few weeks before the initial planned release, I was contacted by Mooneye Studios. They offered to partner and help me publish Haven Park. After some discussion, and seeing that the feeling was good, I decided to trust them with their experience. I’m really happy with our collaboration, they truly helped the game reach a new level in terms of visibility and quality! Thank you guys!
Conclusion & next steps
Overall, I’m extremely happy with this experience. I met all my objectives. Game development is definitely something I will keep pursuing. I already started to think about the next game I’ll make! I will conclude with 5 points about what I learned:
- Keep your eyes on the target. Don’t lose focus along the way. Don’t fall to the temptation to restart over and over until it’s “the perfect concept”. There is no such thing. Start with a strong idea, then make it better as you move forward. Keep going!
- When stuck on a specific aspect, put it aside and come back at it later.
- Find a workflow that allows you to make fast iterations. From an update in a character rig to a build, it needs to be really fast
- Fail fast. Challenge your ideas and try to “break” them as early as possible. If something has to fail, it must be quick, so you can move on to a better version of it.
- Enjoy the journey! It’s cliché to say, but it really is more important than the destination. Find your routines to help you get out of the bed and start the day with precise goals! It’s a strong way to keep you motivated!
Bio
I was born in Switzerland. I discovered Blender when I was 15 and immediately got hooked. I did a few animation shorts as an autodidact, then I moved to France to study 3D animation in an Art School. I obtained a Master degree in Art Direction. After that, I worked as a director at Cube in Paris, then on my animated series Barababor, in Luxembourg. I am now starting to develop games as an indie developer.